By: Amber Young—
If you don’t currently own the latest kitchen gadget craze, the Instant Pot, chances are you know someone who does.
I received my Instant Pot as a Christmas gift from my mom just a few short months ago and can fully attest to the amazingness of the IP, as us Instant Pot fans like to call it. My husband and I both work full time and have two little ones, ages 4 and 8, at home. The hours from 5pm-8pm during the week are hectic, so we resort to carry out or a small number of quick meals that take little effort most nights. Since getting the Instant Pot, we have found that it is much easier to shake up the menu and serve good, healthy meals even on a hectic night!
If you have an Instant Pot sitting at home, or are thinking of purchasing one, it can certainly be intimidating. Does one little pot really need that many buttons? Can it really be as life changing as some people make it out to be?
Before I share with you some of my tips and tricks, let’s make sure you know what the Instant Pot is. First, Instant Pot is a brand name and not all their appliances are the same. There are various models, including some that are just slow cookers. The current craze revolves around the electric pressure cooker versions, of which there are various models. These little gems can speed up cooking time by 2-6 times and use about 70% less energy. The design makes them SO much easier to de-pressurize than those stove-top pressure cookers you might remember from way back.
- No, you won’t blow up your kitchen.
I can’t count how many times I’ve heard people say they are afraid of the Instant Pot because they think they will blow up their kitchen. Trust me, if you are following your recipes and not doing anything completely crazy you will be fine. The lid of the Instant Pot seals well and if, by chance, you try to open the lid before the pressure is released it will be exceedingly hard to do.
- Be sure you always have at least ½ cup – 1 cup of liquid in your pot when pressure cooking.
This is one of the most important things to remember. The IP needs liquid in it in order to pressurize properly. If you are cooking something like baked potatoes that don’t need to be submerged in liquid, you can use the little metal rack insert that comes with the instant pot to hold the food over the liquid.
- Add about 10-15 minutes to cooking times listed in recipes.
When you pressure cook in the IP it will take around 10 minutes for the pot to build up pressure. The actual cooking time doesn’t start until this happens. So, if a recipe says to cook on high pressure for 30 minutes, it will probably take around 40 minutes total (10 minutes to come to pressure and 30 for the actual cook time). The amount of liquid in the pot will change the amount of time needed to come to pressure. Keep in mind that the cooking timer will NOT start until the unit reaches pressure. Some new IP owners mistakenly think nothing is happening during this phase because the timing is not going. Just be patient!
- Make sure you seal the pot when you start the pressure cooking.
There is a little nozzle on the lid of the IP. You want to be sure that it is turned to “Sealing” when pressure cooking. Otherwise, the pot will not come to pressure and it may take you a bit to realize it (hence delaying your tasty meal). If you do forget, you will eventually hear a whistle sound coming from the pot. If this happens, just turn the nozzle to seal and the pot will begin to pressurize.
- Know the lingo – Natural Pressure Release (NPR) vs Quick Release (QR).
Most recipes will tell you to use either NPR or QR to release pressure. NPR is used for a lot of meat recipes to help keep them tender, while QR is good for vegetable dishes to make sure the veggies don’t turn out overcooked.
Natural Pressure Release is easy. Just don’t do anything! When the Instant Pot finishes the cooking time it will beep and then start counting back up on the keep warm setting. Just let it set (usually for around 15 minutes) and the pressure indicator needle will eventually naturally drop. At any time during NPR you can switch over to quick release if you are impatient and just want to get your food.
With Quick Release, you move the nozzle to “Vent” as soon as the cook time is done. Wait for all the steam to release and the pressure indicator to go down before removing the lid. I’d recommend using a hot pad to do this to avoid the steam hitting your hand. If your recipe has a lot of liquid in it or the IP is very full be careful using QR. Sometime the liquid can start spraying out of the nozzle and make a BIG mess in your kitchen. If this starts happening just move the nozzle to “seal” and let it sit for a bit longer before trying again.
- Do not underestimate the Sauté button!
Some recipes will call for sautéing onions, meat, etc. prior to putting on the lid and pressure cooking. Don’t overlook this step. The sauté feature heats up very quickly and does an awesome job. You don’t need liquid in the pot during the sauté step. Just press the button, add some oil and the food you want to sauté and go!
- You may use multiple buttons for one meal.
Some people mistake “easy/fast” cooking with “one-step” cooking. Many IP recipes have a few steps in them. The wonderful thing is that during many of the steps you can walk away and not worry about constant stirring, etc. which is what truly saves you time. You can truly do ALL the cooking for the meal in the pot. The IP even has a “keep warm” button that will make sure your food is piping hot even if you don’t eat it right away.
If you need a kick start on some great recipes, here are a few of my favorites. Trust me when I say you will be really impressed with how tender meat comes out of the Instant Pot. I didn’t believe for a MOMENT that pressure-cooking ribs for 25 minutes would result in fall-off-the-bone tender meat!
Amber’s Favorite IP Recipes and Resources:
PressureLuck – There are some amazing recipes here, and if you follow his Facebook page he does demo videos frequently. One of our family favorites is his smooth plan yogurt recipe (my own picture included). Plop some fruit or granola on top and have a tasty breakfast or snack!
25-Minute Baby Back Ribs – I was a non-believer in this also, but it worked. I will say that my husband and I both would prefer to cut back quite a bit on the cumin in the spice rub, but that’s just personal taste!
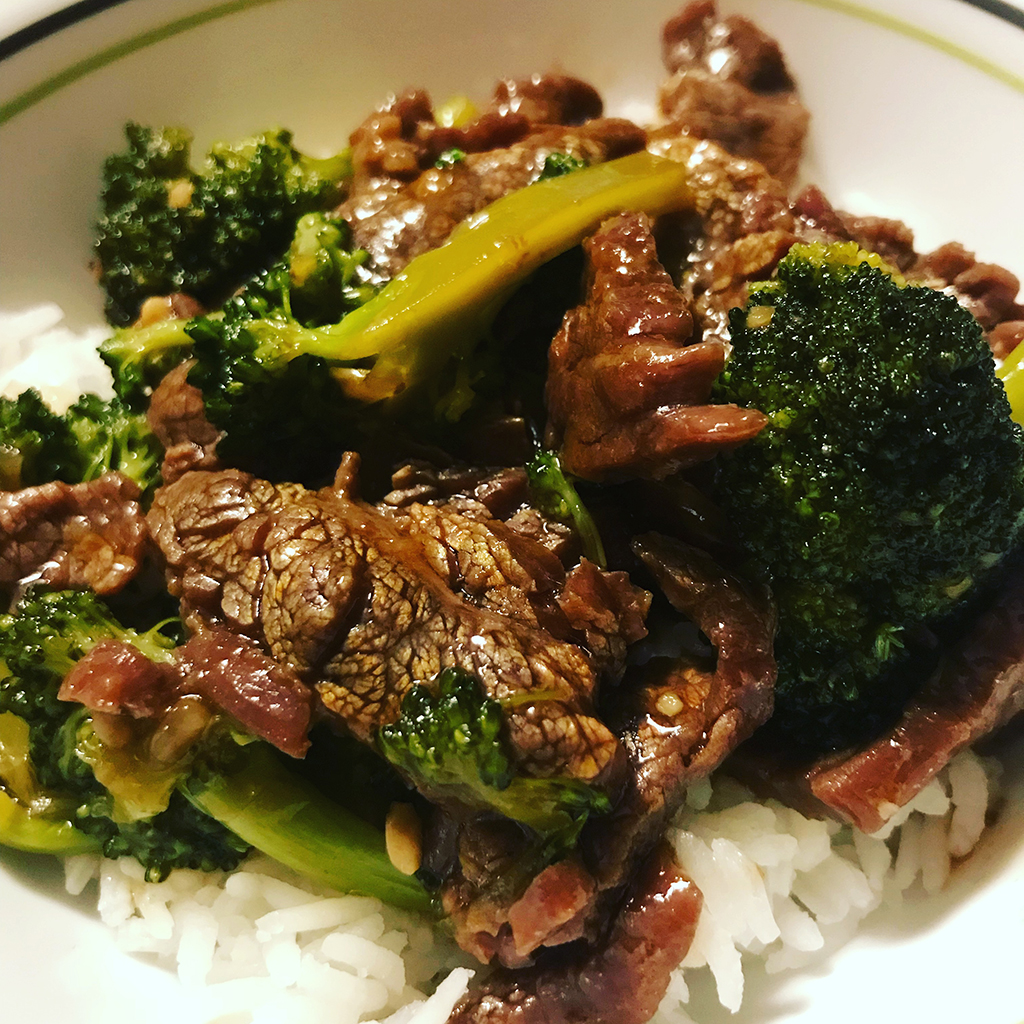
Beef & Broccoli – This is a Young Household staple! Go for low-sodium broth and soy sauce in the recipe – trust me. (my own picture included)
Cheesy Potato Soup – We add a little sour cream in as well and I just mix the milk/flour/cream cheese up with a bowl and whisk to cut down on dishes.
Amber Young is Assistant Vice President, Payroll & Benefits at MutualBank


