

Photos and story by: Heather Crouse—
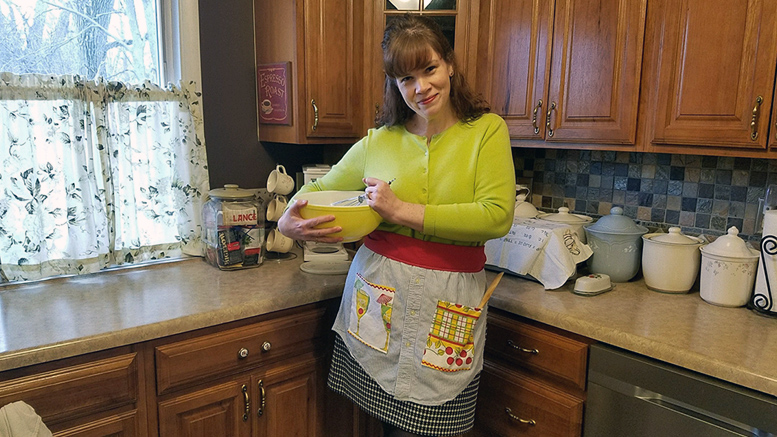
I was so excited when I was asked to write as a guest expert for the 2nd Annual Virtual Home Show! I had a hard time deciding what I would write about but finally decided on this cute and very easy up-cycled apron!
I am definitely no expert seamstress, but find it fun to try out new things! Anyone who knows me knows my love of thrift shopping. I get a great bargain and the opportunity to recycle a great piece of clothing! So when I came across this fun apron making idea online, I had to try it. You can rummage through your closet or better yet go and check out one of your local thrift stores for the following items: a men’s button down dress shirt, king size pillow case and a vintage looking kitchen towel or any other fun piece of fabric which will become your aprons pockets. I discovered a king pillowcase works perfect for the aprons waist (or you can use any 16 x 70 piece of fabric.) Be sure you have laundered your fabrics first of course.
So, here are the instructions on how to make your very own up-cycled apron from a man’s dress shirt!
Let’s get started!
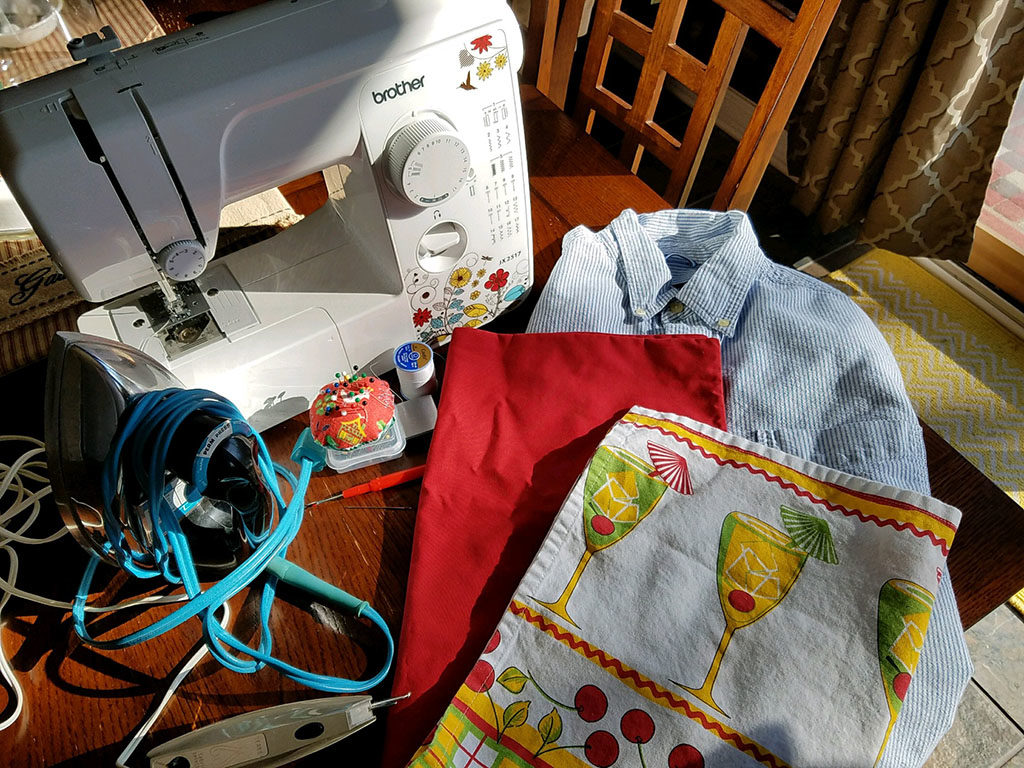
Items you will need for this project include: a sewing machine, scissors, measuring tape, marking pen, pins, thread, sewing needle, seam ripper (just in case!) and iron.
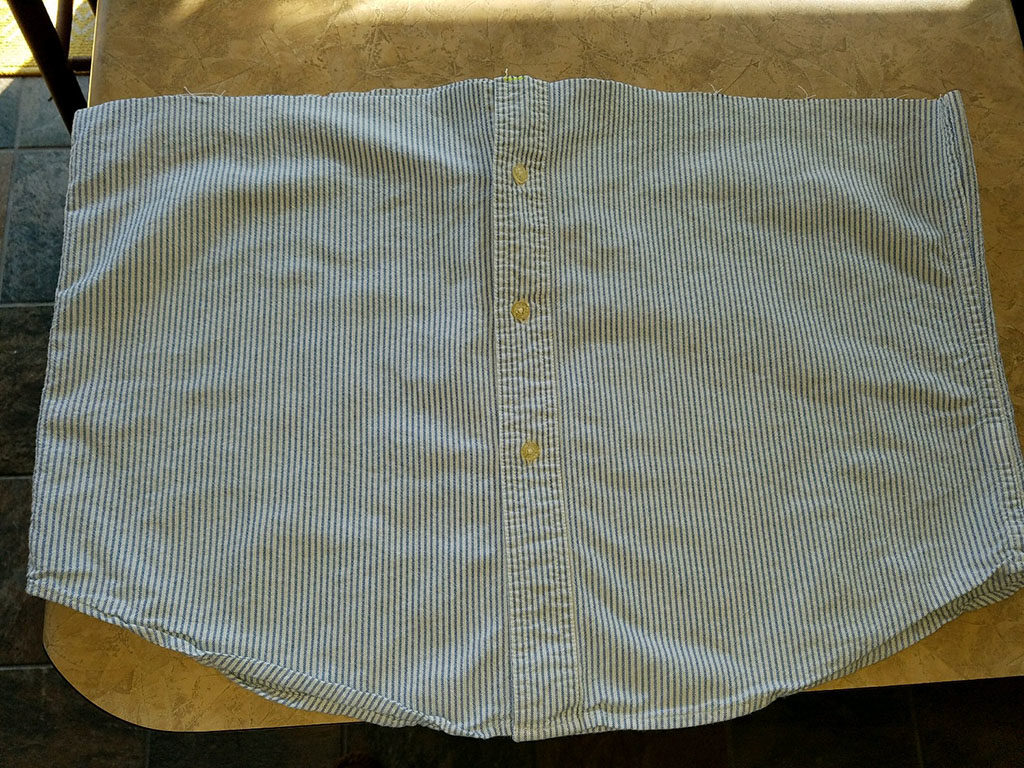
Step 1: Making the apron front
Find a flat surface to work on— your kitchen counter or table is perfect. Lay your dress shirt out on a flat surface front side up. Measure up about 15 inches from the bottom (about 16 inches for me b/c of where a button was located). Mark with pen and simply cut straight across the garment. Now, flip the shirt over and cut directly up the back center. Flip over to the front again and measure and mark 30 inches across using the button as the center. Trim off the excess. Be sure to save all your scrap material for future projects!

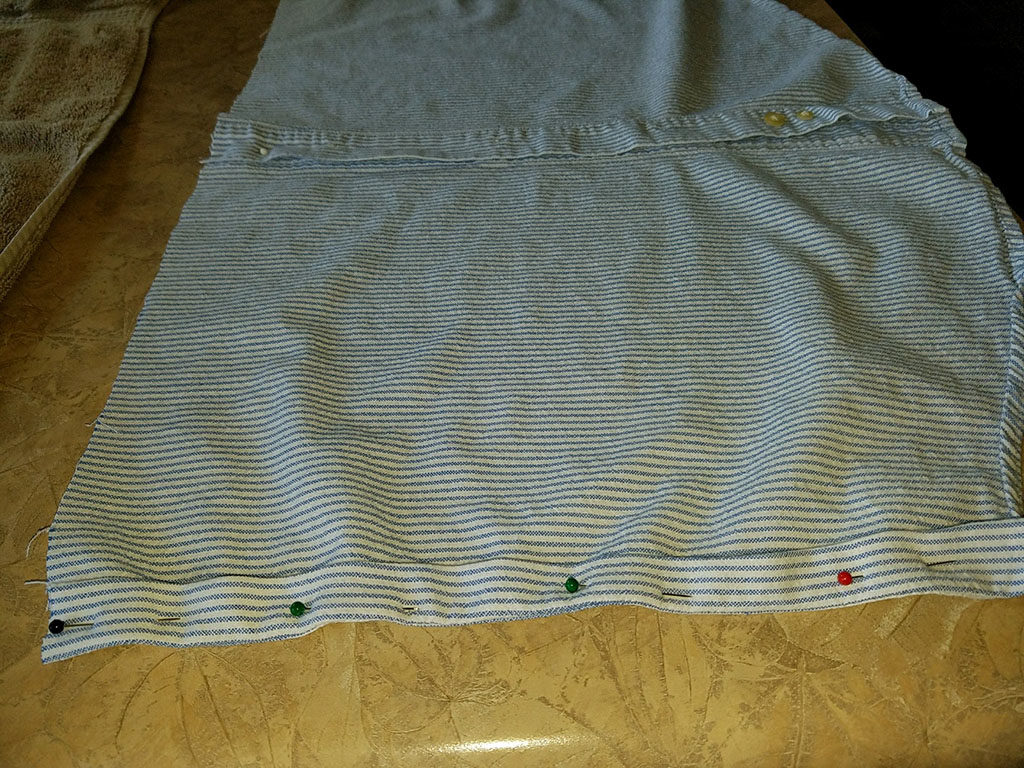
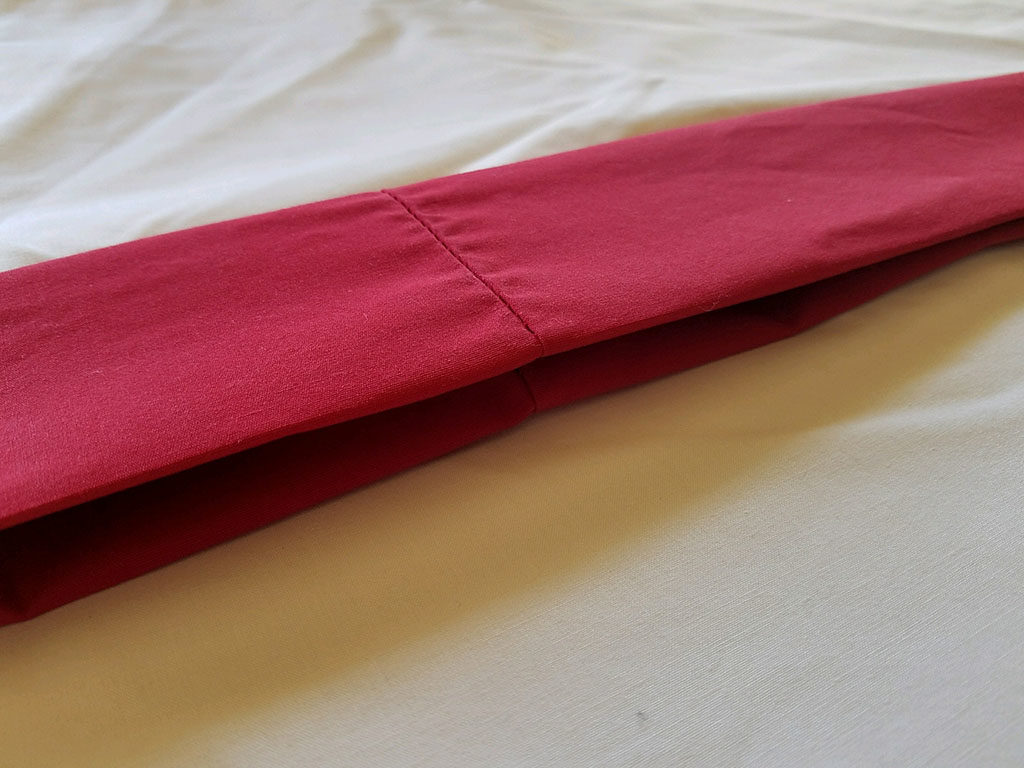
Step 2: Pin & sew your new sides
Lay your shirt face down and fold one side 1/4 inch over and press with hot iron. Don’t skip the pressing step, it makes it so much easier to sew, believe me! Fold over again another 1/4 inch and press and pin. Do the same to the other side. You are now ready to sew your new sides. I used a mid size stitch, usually 8 or 9 is fine.
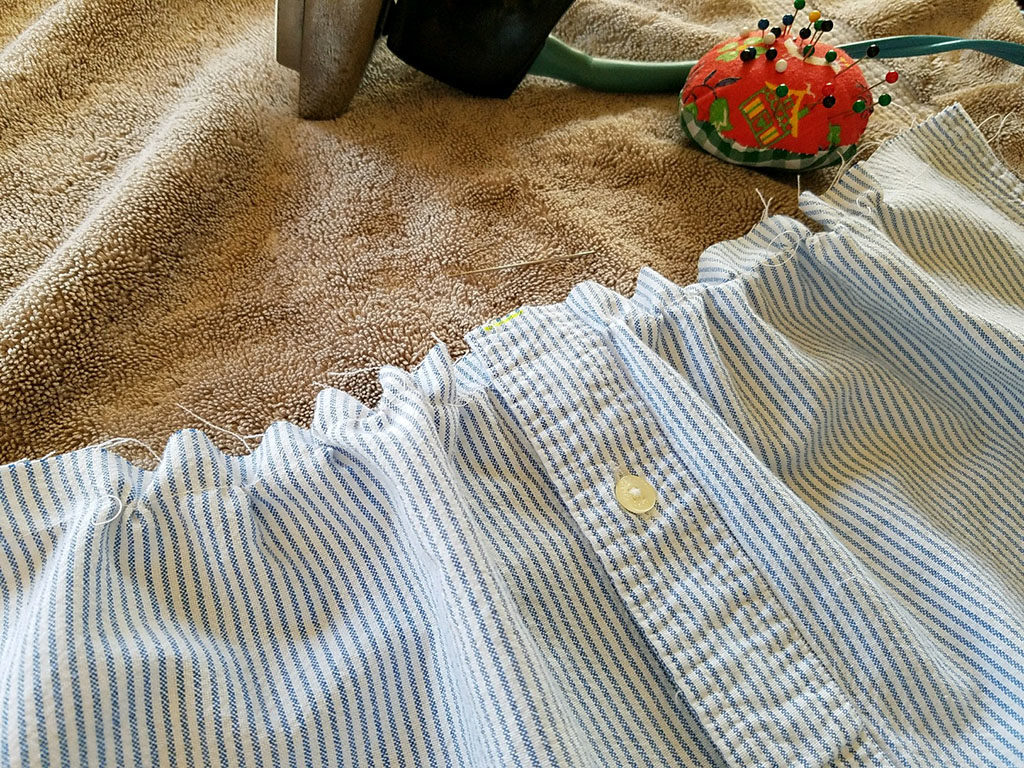
Step 3: Baste top of apron to create gathering
Next, you are now going to create some gathering for the front of your apron and it is easy to do! Set your sewing machine on the longest stitch, about 10 or 11, and sew 1/2 inch from the raw edge top of the apron all the way across. Next, take a needle and pull slightly— every few stitches— to create the gathering you want. Set aside for now.
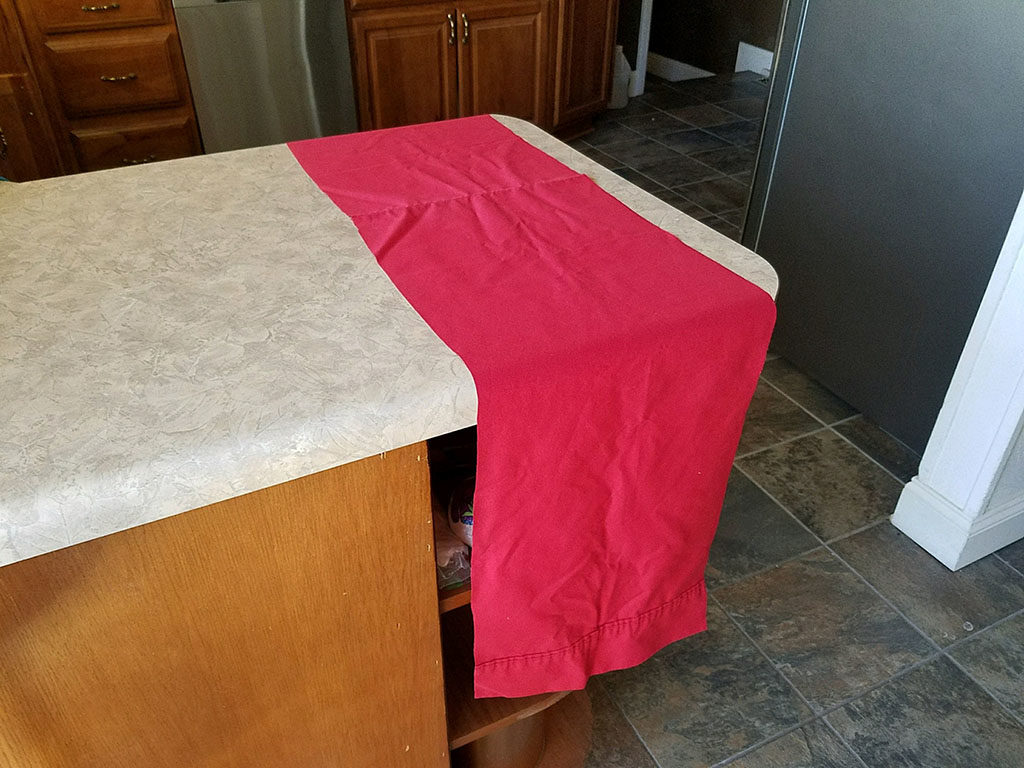
Step 4: Create waistband for apron
Lay your king size pillowcase out flat and measure 12×30 inches (which will become 60 inches once you unfold) Most king size pillowcases are about 30 inches long so it makes this part fairly easy. I measure from the bottom center and the just cut upwards. Once you’ve made your cuts, open it up to full length (12×60) and lay flat.
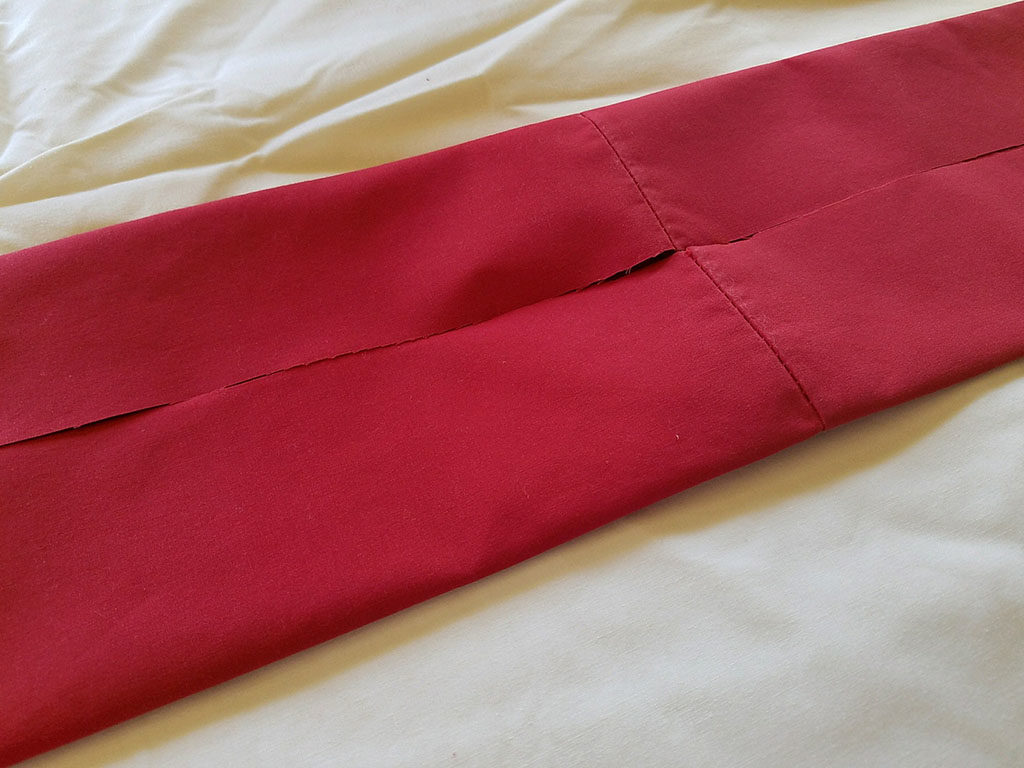
Next, fold the garment horizontally 1/2 to the middle and do the same for the top. Press entire piece with hot iron. Now, fold your 2 pressed sides together and press yet again. It should look more like a waistband now!
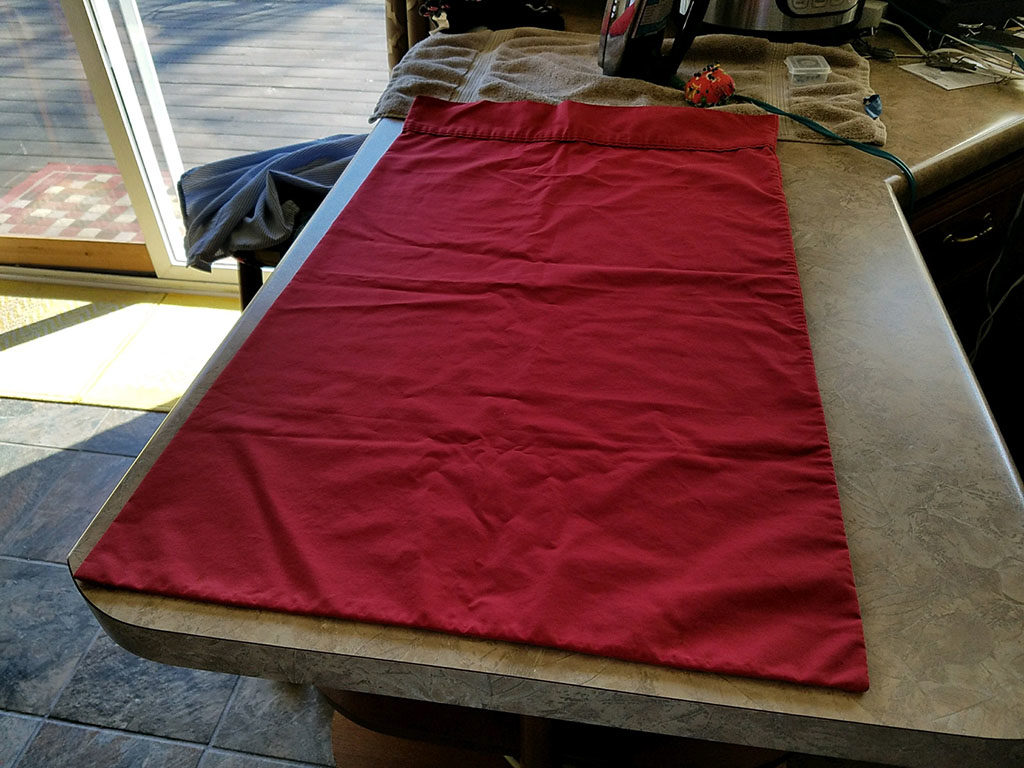
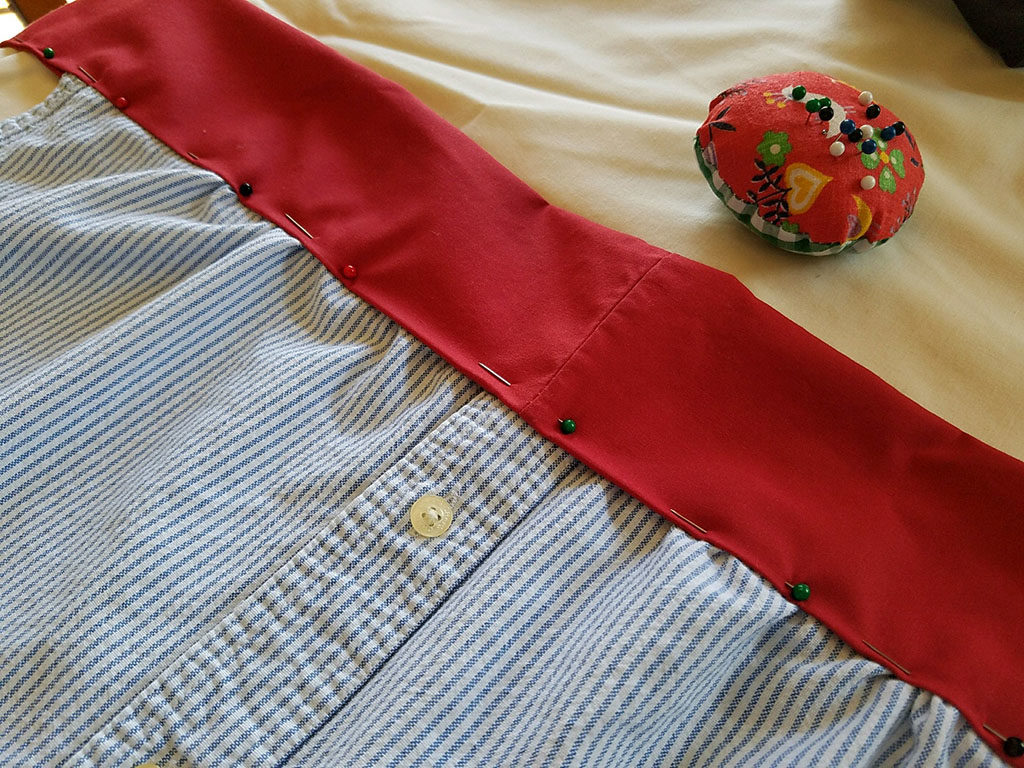
Step 5: Attaching waist band to apron front
You will now take your apron front and lay between the waistband you just created. Tuck about 1/2 inch of the gathered edge into the open side of the waistband. Be sure to match the center front button of the shirt. Once you feel like it is centered where you would like it, pin in place and sew. Start at one end of the waistband and work your way to the other side.
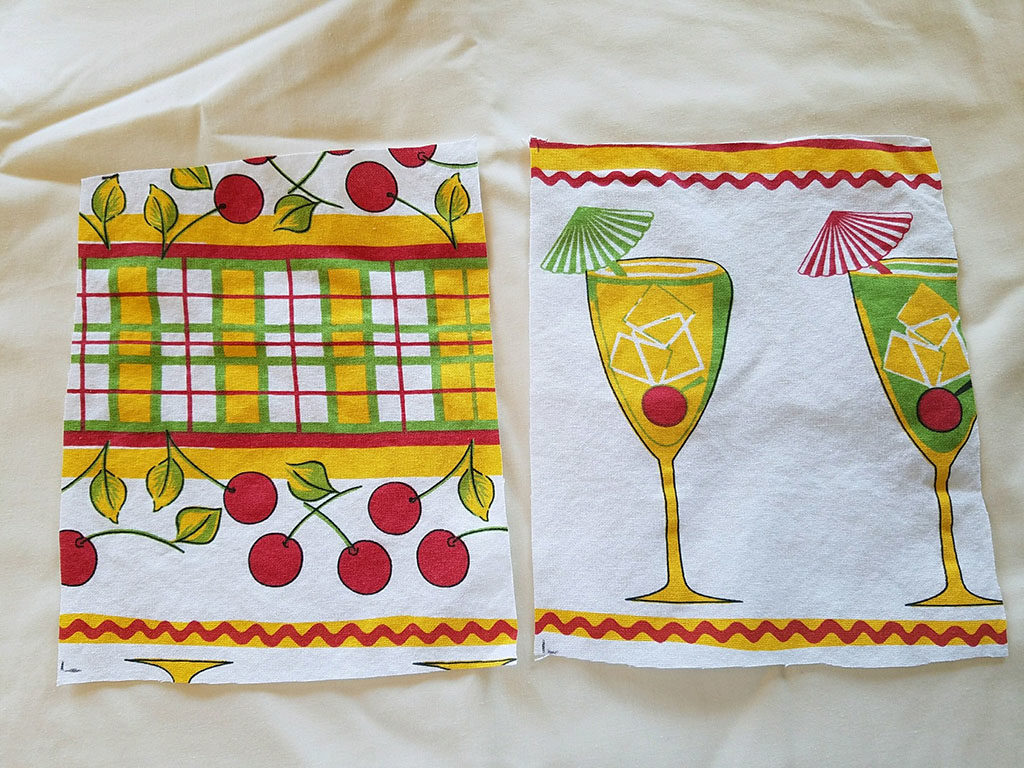
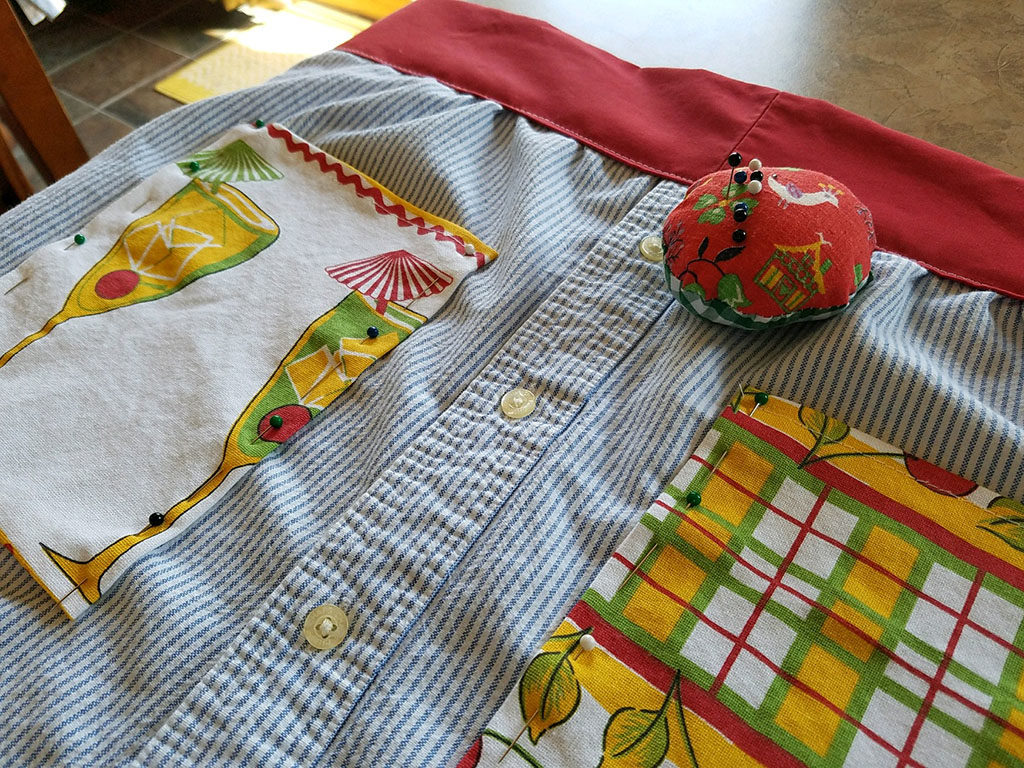
Step 6: Time to make some pockets
You are almost done! Take your vintage looking kitchen towel you have chosen for this part and cut out 2- 7×8 pieces. Next, you will need to press under a 1/4 inch on all four sides. Be sure to sew your top part of the pocket first before you pin to the apron. Place your squares evenly on the apron, pin and sew! That’s it!
Congratulations! You have just made your first up-cycled apron just in time for a little spring cleaning! I hope this was a fun and easy project for you and that you put it to good use! Thanks for reading and have a great day!
Heather Crouse is Front Desk Support Specialist at Woof Boom radio. If you win a prize from any Woof Boom radio station, Heather is the person you will usually see when picking up your prize.

